The Culprit
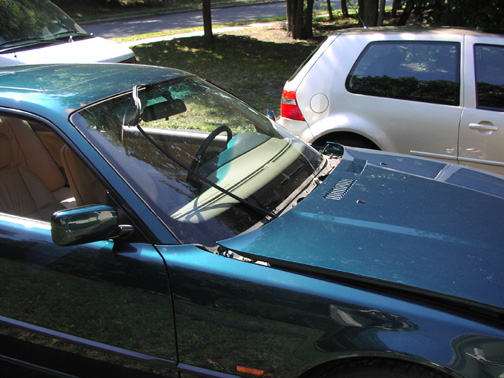
So, here I was, minding my own business, on my way home from the local motor vehicle inspection agency with a fresh "PASSED" sticker on the windshield, when some $#@!@*! SOB in a SUV pulls out in front of me from his gravel driveway, hits the gas, and throws a stone the size of a baseball out of his should-be-made-illegal-on-the-street-for-this-reason Mickey Thompsons' into my window. CRACK!
After I was finished ensuring the driver saw me in his rear view mirror flip him the bird, an interesting sensation of acceptance came over me...and not for obvious reasons. As I looked at the new "feature" in the passenger side of the windshield, I actually found myself somewhat relieved. Relieved, you ask? Well, to be honest, this was not the first time the window had been hit (though this caused by far the most damage), the window had taken a beating over the last 3+ years of highway driving (BMW windshields are rather "soft" in my opinion), and, to make matters worse, the bonehead at the inspection station slapped the sticker on crooked before I could tell him "uh, I'll do that friend". So, I felt relieved that I was now officially justified in calling my insurance company in an effort to get the windshield replaced and make everything right in the world again. :-)
The Paperwork
A call to my insurance agent revealed I could handle this in two ways. First, I could use their window replacement management company called "Lynx" to manage the claim, in which case they would approve the claim without question (leaving me responsible for my policy's $100 deductable) OR I could fend for myself with an "unapproved" installer, submit the invoice later for reimbursement, and probably be assured that I would pay the difference in cost...far more than $100.
Since you've read this far, you probably know that I'm particular about the car...so I know you can understand why I was more than slightly leery to let just anyone work on the car...or more to the point, any company whose bottom line would agree with the low-ball/low-bid attitude of most insurance companies. Since my dealer had, up to this point, treated me fairly and always worked on my car to my complete satisfaction, I initially spoke to my dealer about handling the repair. They quoted me $400 for the windshield with trim kit and $350 labor. Needless to say, I began to rethink that option almost immediately.
A call to Lynx revealed the process: they would contact several (typically three) local installers of my choosing from their "approved" installer list, obtain quotes to establish a baseline cost, and then allow me to take it to any one of the installers. The problems started when the quotes came in: $220, $250, and $275. I told the Lynx rep this could not be possible and asked how it might be possible to request OEM glass and receive parts and labor estimates for less than the cost of the parts from BMW? Then I learned the subtle distinction between "OEM glass" and "OEM replacement glass" that these otherwise helpful folks apparently wished to obscure from all but the most anal-rententive owners (and yea, that means me). :-)
Once I established with the Lynx rep that I would accept only BMW glass, they went about getting new quotes from the three previously-chosen companies, while I decided to contact my dealer for more information. I was determined to find out whether the dealer had someone on staff that performed this type of work or if they subcontracted the work. The service manager didn't want to give me that information (naturally), so I contacted the parts department...who then told me that the work was subcontracted and even offered me the name and number of the company they use. I then called Lynx again and asked them if that installer was on their "approved" list...they said "Why, yes!" and the rest was, as they say, history. My bill? $100.
The Installation
The basic installation process was crudely simple:
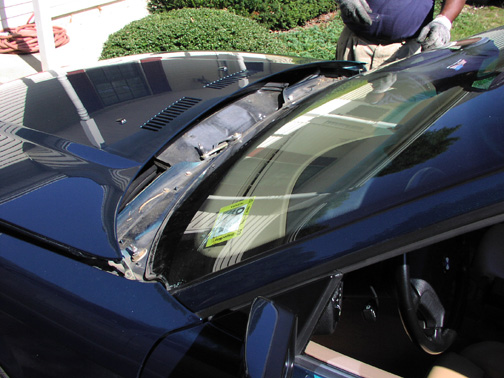
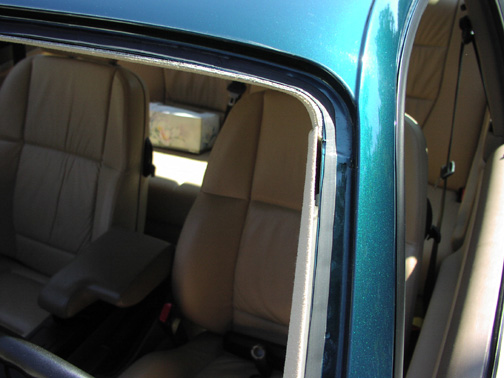
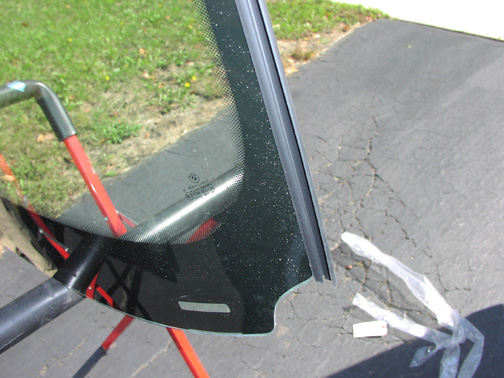
To begin, the trim pieces were removed to expose the window. Note that the hood has been moved forward. This is made possible by an ingenious hinge design that, with the removal of one screw, allows each hinge to extend and pivot in such a manner to allow access to the bottom portion of the window WITHOUT actually decoupling the hinge from the car. Those Germans are SLICK!
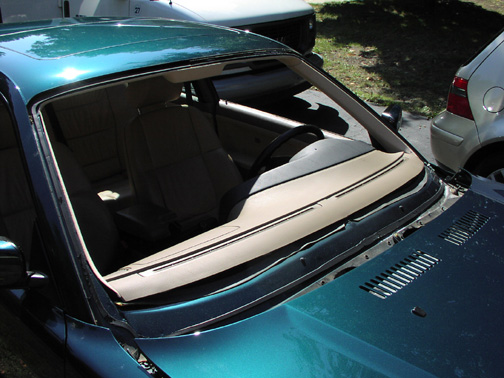
Once the outer protective rubber seal was removed, a specialized tool with a right-angled blade was used to reach under the window's edge and slice the thick hard-rubber adhesive seal fixing the window to the car's mating surface.
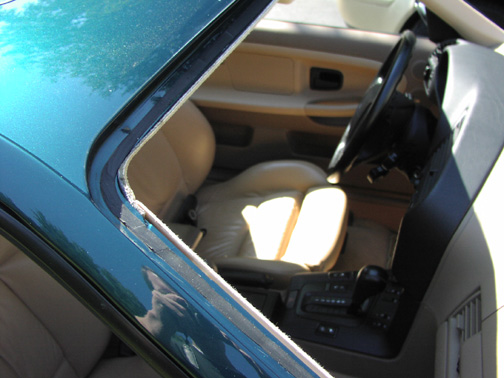
The damaged window was then eased out of its frame from the interior of the vehicle. Once the window was lifed out of position, I used a vacuum to clean up 3 years worth of fine dust and dirt that made its way past the outer rubber seals and wedged itself between the window and the mating window channel.
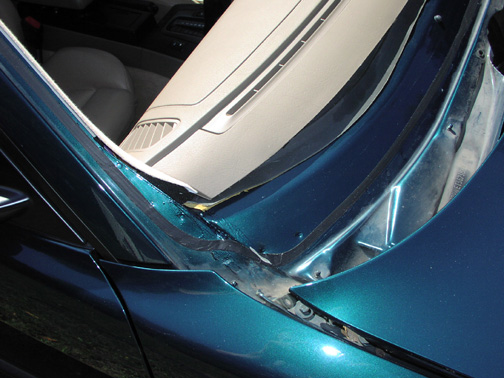
Note the ridge of adhesive that is left behind (to be removed), and check out that cool hood hinge!
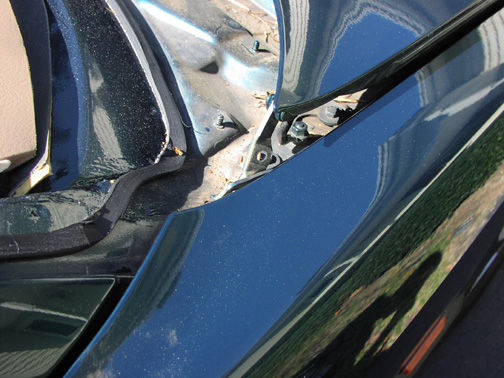
Another razor-knife-like tool was then used all but approximately 1/16" seal material on the car. In one or two spots, where the removal tool gouged this remaining seal material, a liquid-rubber-like primer material was brushed on to ensure a complete seal following installation.
The window trim kit material was then affixed to the new window and the window surface cleaned where it will mate with the car.
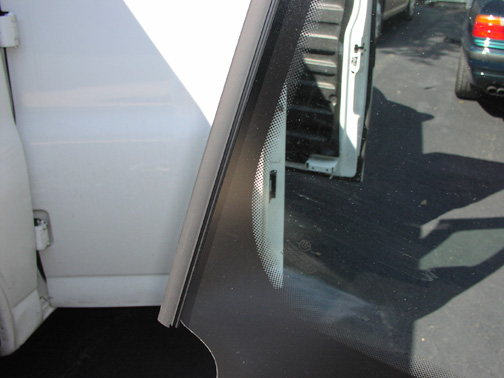
The new adhesive was then applied in a 3/8" square, continous bead on the car's mating surface. The application tool appeared to be an oversize version of a common construction-adhesive applicator, except the applicator tip was square, thus conveniently creating the square bead.
The window was then set, adjusted and pushed into place as necessary, and taped to ensure the window would not slide down while the adhensive cured. The installer told me that I could drive the car in as little as four hours, but I just put it back in the garage and didn't wind up driving it for several days.
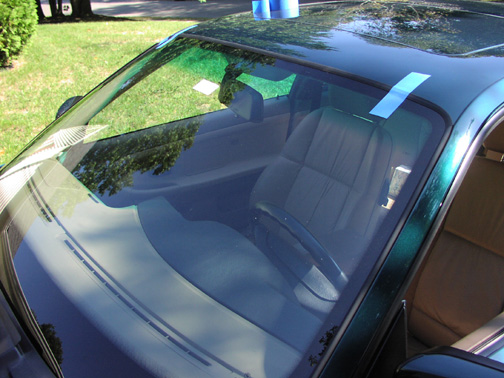
And that's about it...a nice, clean, new windshield, the likes of which I haven't seen since I picked up the car in Februrary of '98! If you need to have your windshield replaced and have any questions about the process I've neglected to cover here, contact me!