THE GOAL: To cleanly install Xenon ballasts and 9006 bulbs. (Update 07.05.02) I've determined that I need to move my bulbs back a few millimeters to achieve the best light output. I'll be working on a solution over the next few weeks.
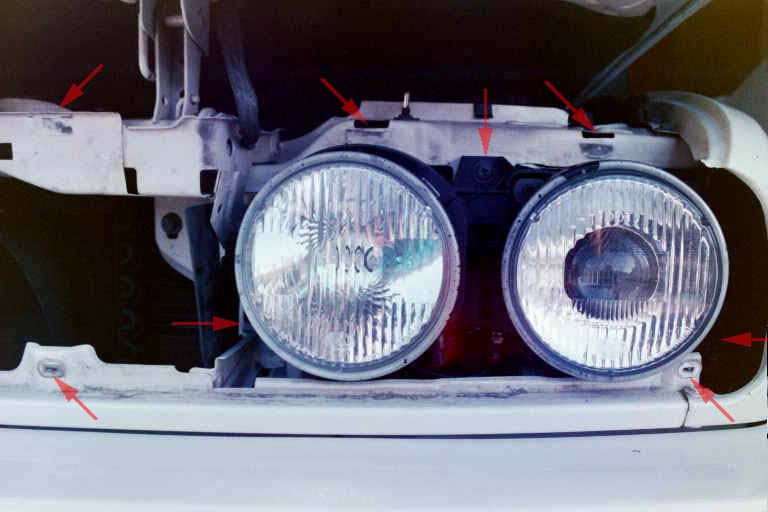
1. In the engine compartment, remove the (2) body fasteners that hold the rear black plastic light cover in place. Unplug the high and low beam electrical connectors from the back of both bulbs.
2. Unfasten (3) clips and (2) screws to remove the black grill surround. Remove the (3) large phillips-head screws that hold the headlight housing to the body and remove the ellipsoid low beam and high beam assembly. The mounting flanges are normally made of plastic and should have indents from the mounting screw and washer, which will aid in semi-proper alignment following reassembly.
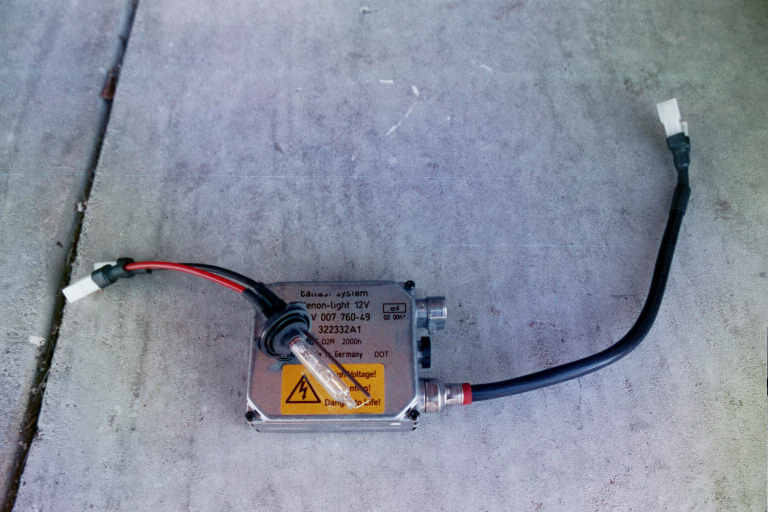
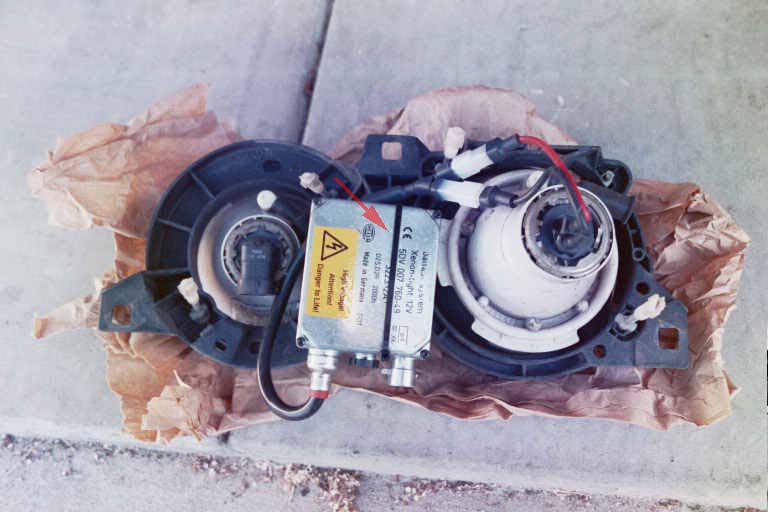
3. I used a long zip tie to secure the ballast to a semi-flat portion of the headlight assembly between the two housings. The ballast wire was then routed to the Xenon bulb which fits perfectly in the ellipsoid 9006 socket.
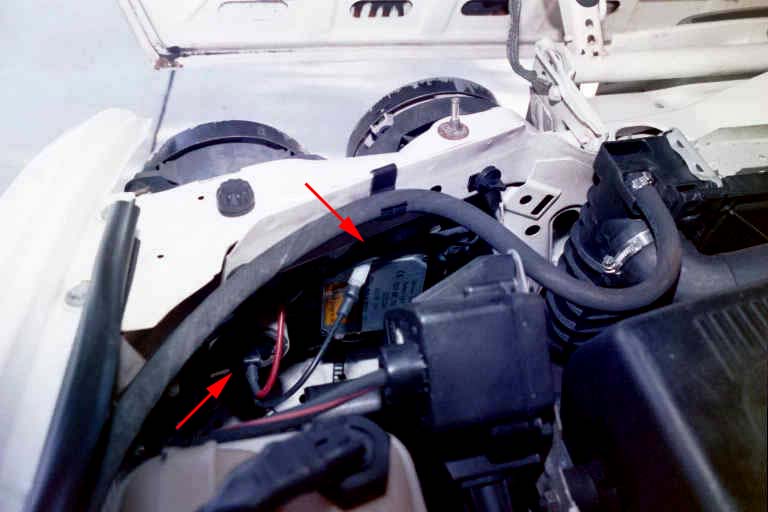
4. Screw the headlight assembly back onto the car. Be sure to realign the three mount points as closely to original as possible.
5. Repeat the steps for the passenger side.
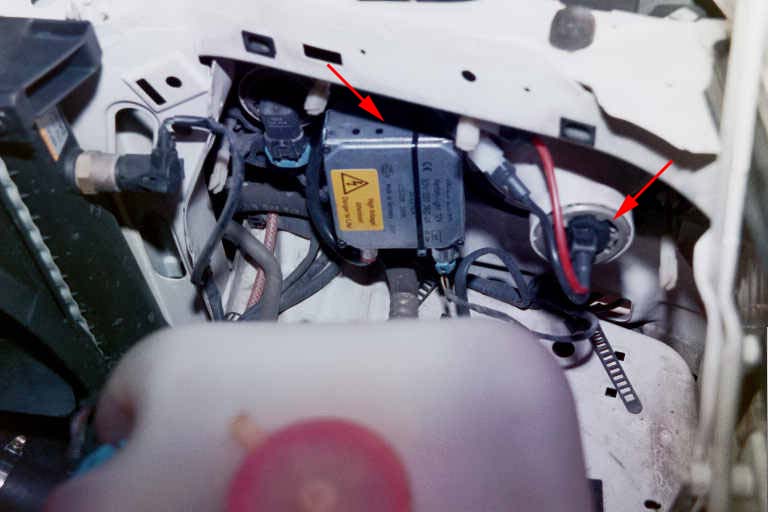
6. Plug the low beam electrical connector into the ballast, and the high beam connecter back into the high beam bulb.
7. I had to upgrade my fuse #13 and #14 from 7.5amp to 10amp to handle the extra draw from the ballast when igniting the arc. After the lamp is lit, it actually draws less current than stock halogen bulbs.
8. After testing and the "wow" factor is over, reinstall the rear light covers. The driver-side cover should fit perfectly, but I had to modify the passenger-side cover a bit to clear the ballast. I carefully heated the black plastic with a heat gun and bent it where necessary for clearance.
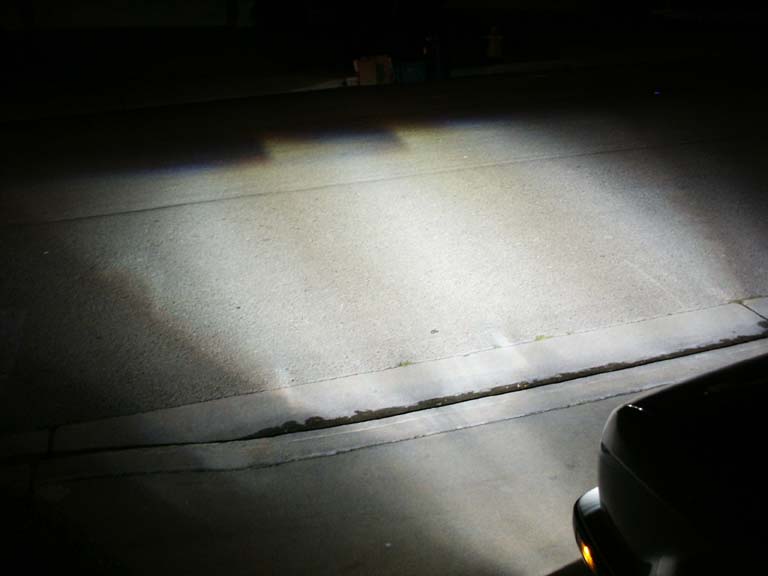
9. Proper beam alignment is crucial to reduce the chances of blinding oncoming traffic. Check on the web for specific instructions on aiming Xenon lights for 4-beam cars. An example can be found here.
RESULTS
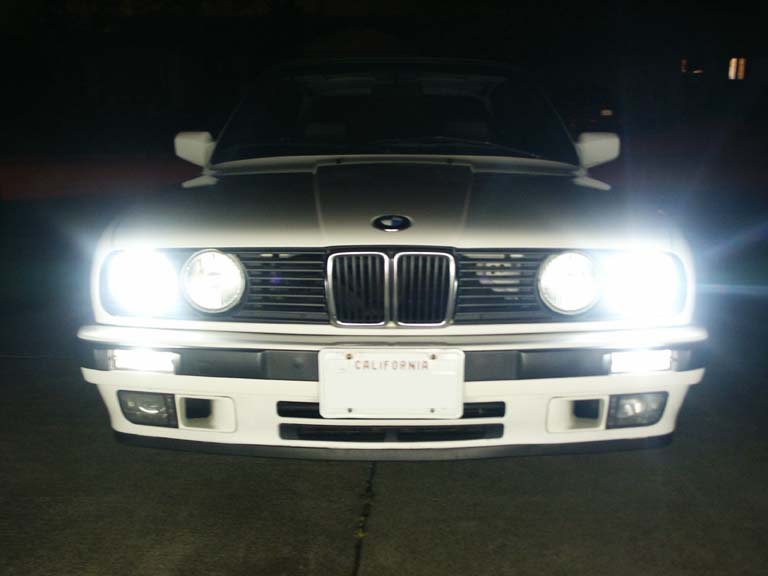
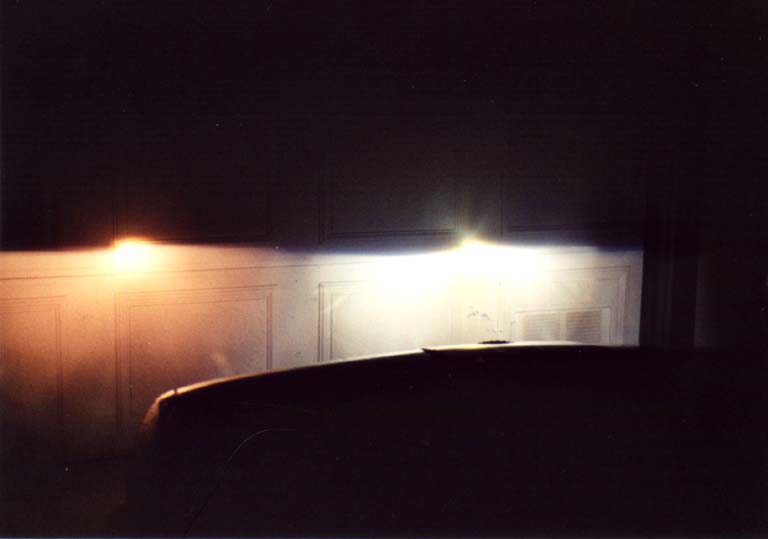
I was pleased with the dramatic increase in light output and the new, "cool" white beam look. The light emitted isn't as bright as most high-end OEM Xenon systems on today's passenger cars, and I believe some of it has to do with the fact that my 1989 ellipsoid lenses aren't beam pattern matched for Xenon bulbs. So I don't get all the benefits of high intensity discharge lighting, but it's still a noticeable improvement. Other benefits are a wider beam pattern and street signs tend to reflect better off of Xenon light versus halogen light.
Is this upgrade for everyone? No.
Some might find the cost prohibitive and generally not worth the trouble. There are a number of "pure white" halogen bulbs on the market which mimic the white color and also produce a decent amount of light. I just figured that I'm getting old and my eyes are getting worse, hence the need for maximum lighting! ;-) I picked up the set for $450 which is moderately cheap for Xenon lighting kits.
| Value for the money: 6 | Added safety benefit: 8 | Cool factor : 9 |
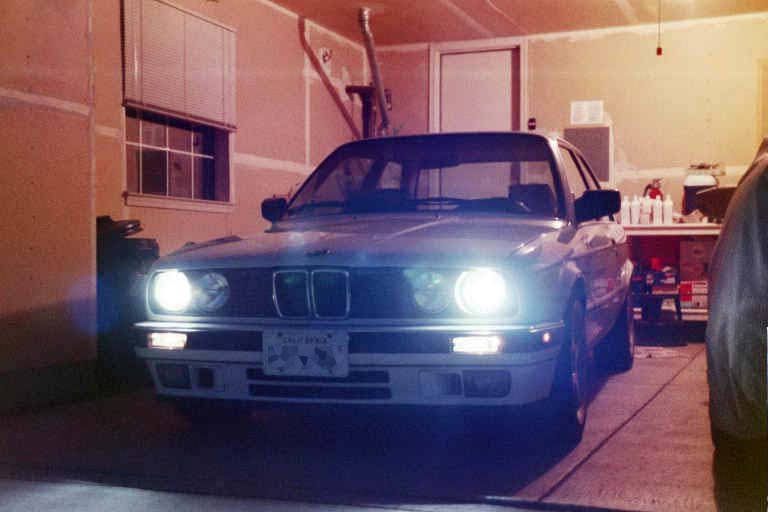
Here's some pictures so you can decide for yourself. Can you guess which side has the Xenon lighting?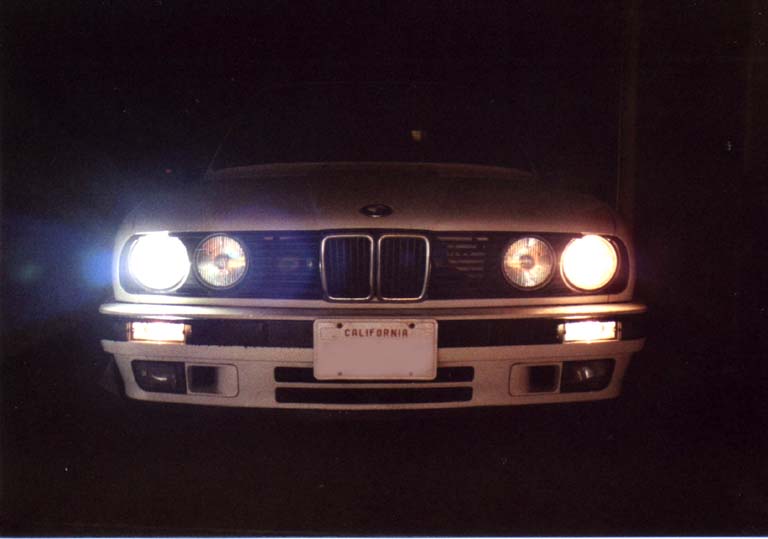
Fully locked and loaded.