BACKGROUND: It's possible to buy smoked front parking/turn signal lens covers (which I will be doing) and smoked rear tail lights, but what about smoked sidemarkers? I first bought some homemade clear lens replacements which were flimsy and poorly cut, so they had to go even before being installed. Here's my attempt at semi-homemade smoked lenses.
Required Parts:
- Smoked plexiglass - 1/8" thick
- K12 Clear prismatic plexiglass - 1/8" thick
- Acrylic glue for bonding the plexiglass (check application with plastic shop)
- Adhesive glue
- (Pair) GE 194NA Amber sidemarker bulbs (found at Wal-Mart)
- (Pair) GE 194R Red sidemarker bulbs (found at Wal-Mart)
- Precision plexiglass cutting machine or tool
- Flat-head screwdriver
- X-ACTO knife
- Dremel or similar grinding tool
- Hot glue gun
1. Visit your local plastic shop to either 1) Buy the first three parts listed for a completely DIY project OR 2) Be lazy like me and have them do everything but the lens installation.
I chose option 2 for obvious reasons. It's much more expensive to have them make it, BUT my lack of experience with plastics, plus having them precision cut the panels for me meant a near-flawless look and install. Also, bonding the two pieces correctly is important to avoid glue bubbles in the plexiglass sandwich.
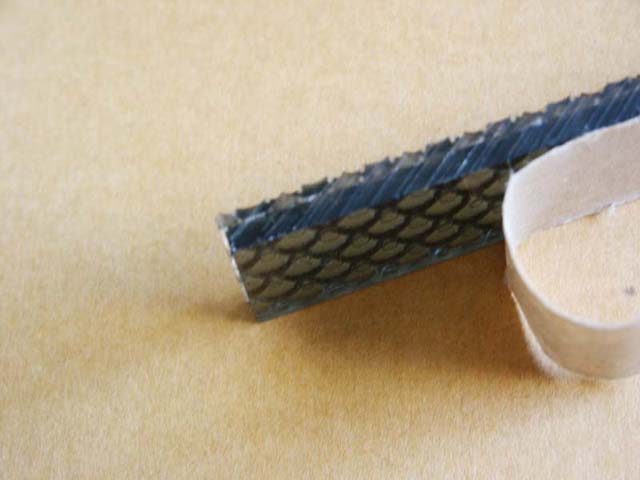
2. Choose the color of the smoked plexiglass carefully. They had a few options, so I mulled over the idea of a completely blacked-out look and insufficient sidemarker light output. I ended-up with something in the middle. I had the plastic shop perform the process of glueing/bonding the two pieces of plexiglass and then had them precision cut into (4) 15/16" x 5-5/8" rectangles. I highly recommend you measure your own sidemarkers to double-check the sizing. Regardless, you'll need to grind a bit away, so be sure you err on the side of larger. If you decide to do this yourself, be sure you know what's involved in bonding and cutting plexiglass properly. Here's the net result.
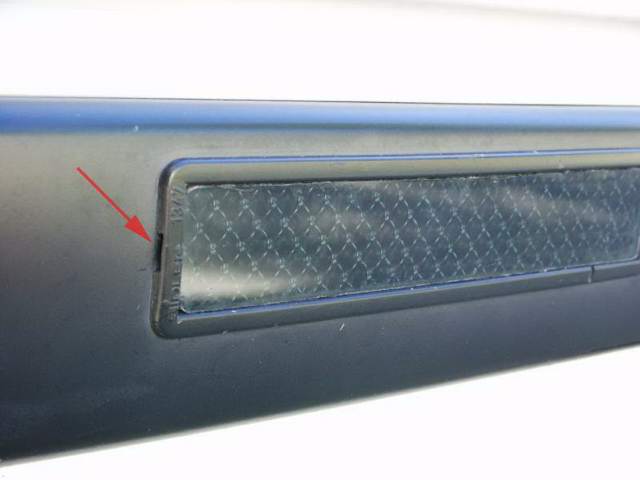
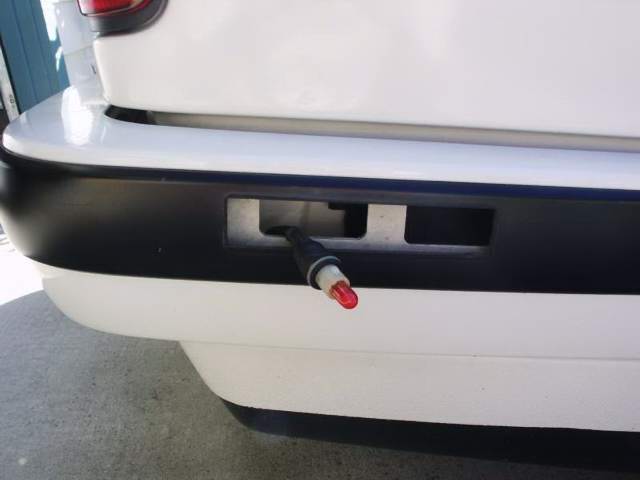
3. Use the flathead screwdriver to carefully pry out the notched end of the sidemarker housings (see red arrow). Once it is popped out a bit, slightly pull the sidemarker towards that side to free the clip on the other end. Please note this pic was taken when I tried a clear laminate to protect the surface of the plexiglass from scratches. I didn't work out well and I removed the laminate and the markers have held up just fine without it.
4. Rotate the wiring plug counter-clockwise to remove the housing.
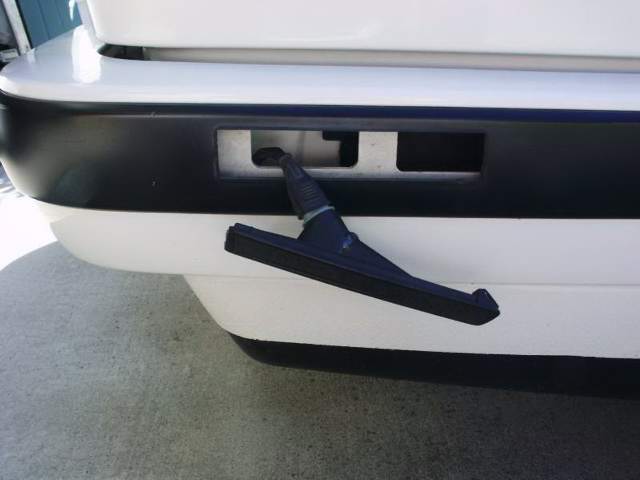
5. Don't let the wiring fall back into the bumper. Notice the red bulb here. To maintain the US DOT-approved look, you must install red bulbs in the rear and amber bulbs in the front. The aftermarket lenses aren't necessarily DOT-approved, but by maintaining the stock lighting coloring, you are at least "trying".
6. Somehow, knock or cut out the existing colored lenses and clean up the residue with the X-ACTO knife. This step was done for me by someone else, so I don't know the exact steps.
7. Carefully grind the edges of the new smoked lens to fit into the vacant sidemarker housing. Some or all of the edges will need tapering for a snug fit.
8. Use the adhesive glue to affix the smoked lenses into the housings. Use a glue that won't react with the plastics and turn them white-ish. Your plastic shop should be able to recommend something. I believe I used some type of strong rubber-cement in just the corners and the rest pressure-fit just fine.
9. Before reinstalling the housings, check for cracks due to heat above the bulb. I used the hot glue gun to patch it as you can barely see in the Step 4 pic.
10. Reinstall the sidemarkers with colored bulbs and enjoy the look.
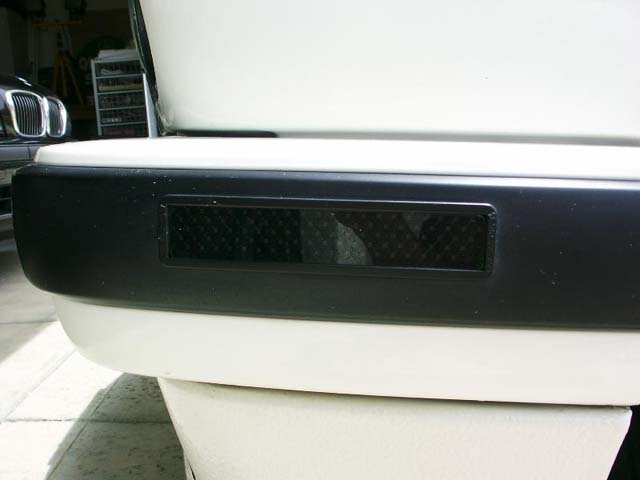
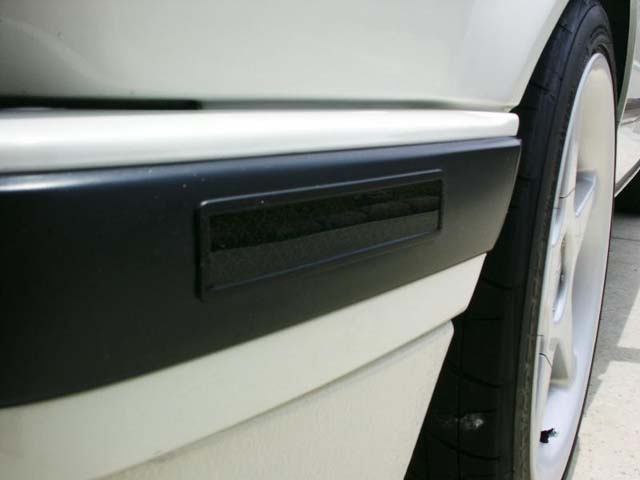
At night, they are somewhat dimmer and possibly not DOT-legal, but they are definitely still visible as amber in front and red in back.